The PSL maintains measurement and calibration expertise in these areas:
AC Labs
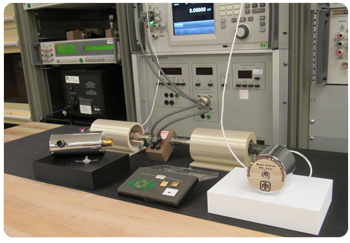
The Alternating Current (AC) Laboratory of the Primary Standards Laboratory maintains a wide variety of AC and pulsed electrical measurement capabilities of providing Systeme International (SI)-traceable measurements through the National Institute of Standards and Technology (NIST) or natural physical constants. Metrology resources include high-accuracy AC and voltage measurement systems to quantify AC-DC differences, unique pulsed high-voltage and current generation and measurement capabilities to certify voltage dividers and Current Viewing Transformers, and a NIST-designed time and frequency measurement system. In addition, the AC Lab can measure and certify the electrical impedance of inductors and capacitors over a wide frequency range.
DC Labs
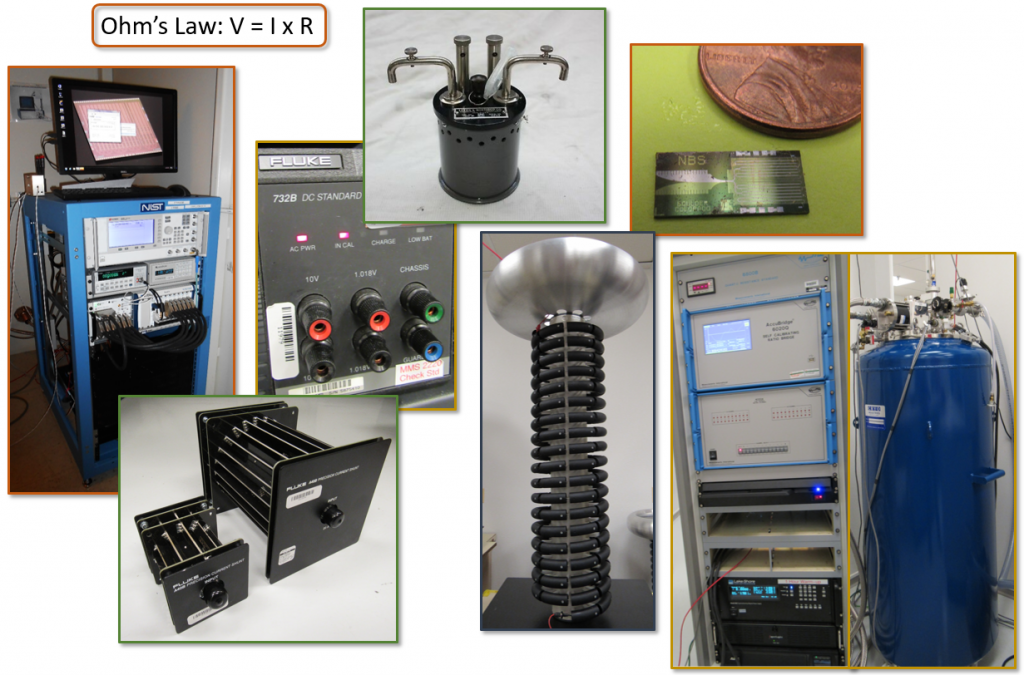
The Direct Current (DC) Lab at Sandia’s Primary Standards Laboratory is a state-of-the-art calibration laboratory that provides the NSE complex with precision direct-current and low-frequency calibrations. The DC Lab is equipped to provide quantum traceable calibrations using a 10 V Programmable Josephson System and Quantum Hall Resistance System. Additionally, it can provide a wide range of calibration parameters including voltage calibrations up to 250 kV and resistance calibrations from 0.1 mΩ to 10 PΩ.
Electrical Labs
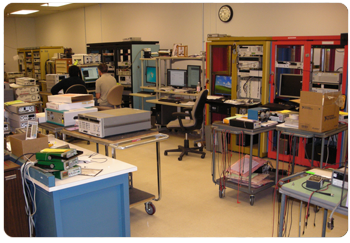
The Electrical Lab provides Sandia National Labs and other primary standards laboratories with calibration for various measurement and test equipment, such as digital multimeters, oscilloscopes, RF meters/sources, LCR meters and power supplies. All devices are calibrated in ranges of 20 Hz – 26 GHz, 1 pA – 100 A, and 1µV – 1000 V.
FASH Labs
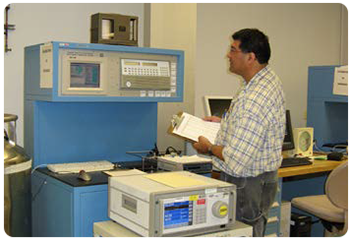
The Flow Acceleration Shock and Humidity (FASH) Lab calibrates a wide variety of gas flow devices, as well as moisture sensors. In addition, the lab calibrates accelerometers statically, as well as dynamically, in vibration and shock modes. Please see the FASH Lab’s NVLAP (105002-0) Scope for current capability.
Leaks and Volume Labs
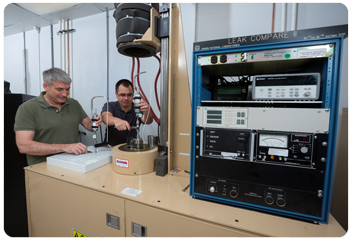
The PSL’s Leaks and Volume Lab is responsible for providing the highest-accuracy calibrations for the National Nuclear Security Administration laboratories in the thermodynamic field of leak rate measurement. The Leaks and Volume Lab has several measurement systems that enable leak rate measurements of all nonreactive, nonradioactive leak artifacts and their associated temperature coefficients. The equipment includes an Accumulate-Dump Leak Measurement System, a P Delta V Leak Measurement System, a Helium Leak Detector Based Comparator, and a Quadrupole Based Comparator. In addition, the Leaks Lab can measure manifold volumes and sample cylinder volumes. This is accomplished using gas expansion techniques and Volumeters and Cathetometers.
LMF Labs
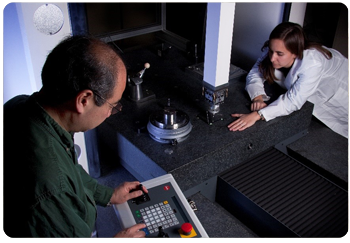
The Length, Mass, and Force (LMF) Lab is responsible for providing the highest-accuracy calibrations to Department of Energy laboratories in the fields of dimensional measurement, mass measurement, and force measurement. The Length Lab has a variety of dimensional measurement systems to enable calibration of gage blocks, angle blocks, autocollimators, index tables, thread wires, plug and ring gages, gage balls, step gages, grid plates, line scales, optical flats, step height standards, and roughness standards. The equipment includes two coordinate measuring machines (CMMs) capable of a wide variety of measurements for specific customer requests. The Mass Lab is equipped with a range of high-sensitivity mass comparators for the calibration of weight sets and other assets where customers require a mass measurement with high accuracy. The Force lab has a deadweight system for the highest-accuracy load cell calibrations (up to 1000 lbf), and a series of load frames (up to 100 000 lbf) for load cell calibration by comparison to master load cells. The LMF staff also provide engineering support to the Mechanical Calibration Lab, and consultation services in their fields of measurement to Sandia National Laboratories and other labs in the complex. In addition, LMF staff engage in research and development activities to create new measurement standards and lower measurement uncertainties.
Mechanical Calibration Lab
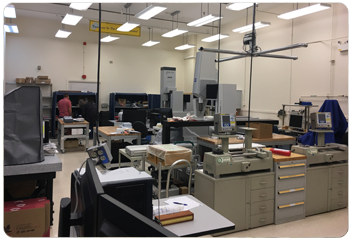
The Mechanical Calibration Lab calibrates a wide variety of secondary standards, gages, fixtures, and measurement and test equipment. Acceptance gages and production fixtures are calibrated using coordinate measuring machines, video measuring systems, optical comparators, surface roughness and topography measurements, and/or hardness testers, as applicable. Other calibrations include one-dimensional measurements for length (e.g., gage blocks, micrometers, calipers), weight (e.g., pallet scales), and mass (e.g., analytical balances, weights) and assorted hand tools, including thread gages and torque wrenches. In addition, the Mechanical Calibration Lab provides technical support for both dimensional measurement (inspection and reverse engineering services) and geometric dimensioning and tolerancing.
Microwave Lab
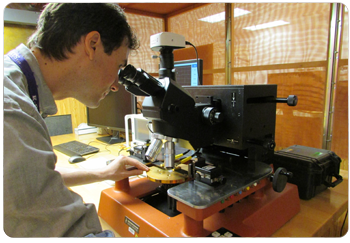
The Microwave Lab provides calibration services for devices with various coaxial connectors from 300 kHz to 50 GHz, depending on the connector type. Services include scattering parameters or scattering parameter-derived quantities such as group delay, effective source match, and permittivity. The permittivity values are obtained using either resonant cavity or transmission line techniques. The scattering parameter measurements are taken on vector network analyzers which are calibrated using PSL Microwave Lab-developed algorithms that provide measurement uncertainties for measurements taken at the given reference plane. The PSL Microwave Lab also calibrates power sensing devices, including both continuous wave and pulsed power applications. To ensure the validity of all reported measurements, the Microwave Lab uses check standards in all measurement processes to provide assurance of the measurement system’s accurate operation. A measurement system is currently being developed that will support measurements for noncoaxial configurations that such as Coplanar Waveguide (CPW). The CPW reference plane is established at the end of the probe tips with the use of on-substrate calibration kits that perform the Thru-Reflect-Line and Thru-Match-Short techniques.
Optical Labs
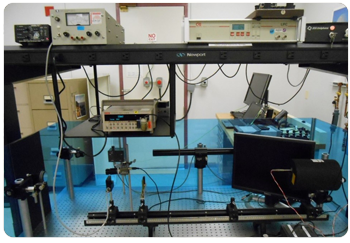
PSL’s Optical Lab maintains three Major Measurement Systems (MMS): MMS 25, Laser Power and Energy; MMS 151, Spectral Irradiance; and MMS 160, Ultra-Violet (UV). Primary optical standards are directly traceable to the Systeme International through the National Institute of Standards and Technology (NIST). Primary optical power and energy standards are based on heat-flow calorimetry, while spectral responsivity is based both on NIST-certified and “absolute” Si detectors. Laser power in the range 1 mW–15 mW (provided by a Class 3 HeNe laser at 632.8 nm) is measured with a heat-flow calorimeter that is certified based on NIST calibration. UV meters are calibrated by focusing ultraviolet radiation from a monochromator at 365 nm onto the surface of the meter’s sensor. UV light is provided by a 200 W Mercury-Xenon research arc lamp source, ozone free, through an aspheric lens F/1. Spectral irradiance of a wavelength spectrum is measured in watts per square centimeter per nanometer (W/cm2 nm-1). Spectral irradiance calibrations for multiwavelength visible light meters are performed using a 1000-watt, quartz-halogen, modified type FEL, tungsten coiled-coil filament lamp supplied by NIST.
Pressure Labs
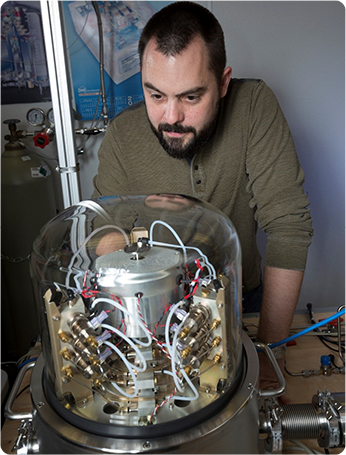
The PSL’s Pressure Lab is responsible for providing the highest-accuracy calibrations for the National Nuclear Security Administration laboratories in the thermodynamic field of pressure measurement. The Pressure Lab has several measurement systems that enable hydrostatic measurements of piston gauges, quartz and mechanical bourdon gauges, quartz manometers, and all types of pressure transducers. The equipment includes a 100Kpsi Ultra High-Pressure System, 40Kpsi Piston Gauge System, 1Kpsi Piston Gauge System, 10Kpsi Pressure Bench, and Auto Cross Float/AMH Piston Gauge System. The Pressure Lab also has Dynamic Pressure measurement capability that enables measurements of piezoresistive-type or piezoelectric-type transducers. The equipment for dynamic pressure includes a Drop Weight Dynamic Pressure Calibration System and a Gas Projectile Dynamic Pressure Calibration System.
Radiation Labs
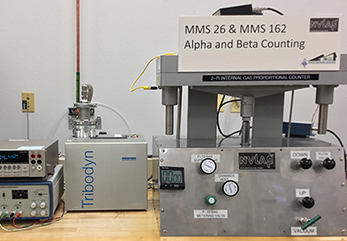
The PSL’s Radiation Lab maintains the national standard for pulsed, 14-MeV neutron detection with the lead probe neutron detector. Primary calibration is accomplished using a gated accelerator and associated particle counting. In the future, results will be intercompared with the Atomic Weapons Establishment (AWE; United Kingdom). Customer lead probes are certified by comparison to a secondary lead probe standard using a laboratory neutron generator (controlatron) as the source. Certification is in terms of total neutrons produced at the source target. The PSL Radiation Lab also performs alpha and beta source calibrations using a 2π internal gas proportional counter. Primary alpha and beta standards are calibrated periodically by the National Institute of Standards and Technology. The primary standards are used to calibrate the proportional counter every two years. Results are expressed in terms of emission into 2π rather than as absolute decay rates because the counter does not distinguish between direct and back-scattered particles. The PSL Radiation Lab’s 2π internal gas proportional counter is NVLAP (105002-0) accredited.
Temperature Labs
The Temperature Lab performs on-site calibrations of SNL-owned temperature chambers/ovens/furnaces and associated recorders, data acquisition systems, etc. The lab is dedicated to the calibration of SNL temperature measurement equipment that is a part of research and operation-level activities. These items include thermocouples, thermistors, Resistance Thermometer Devices, and Platinum Resistance Thermometer devices of various configurations and types, as well as temperature readouts and simulators. Capabilities include temperature baths, dry wells, surface probe calibrators, chambers, and furnaces that cover a large range of temperatures. The Temperature Lab also conducts Primary Standards Thermometry calibrations for top-level temperature standards used in other research facilities. This work is NVLAP (105002-0)- and ISO 17025-accredited for top-tier Standard Platinum Resistance Thermometer calibrations. In addition, the Temperature Lab is developing capabilities for calibrations requiring high-temperature, inert atmosphere activities, as well as the expansion of Primary Temperature calibrations.
Vacuum Labs
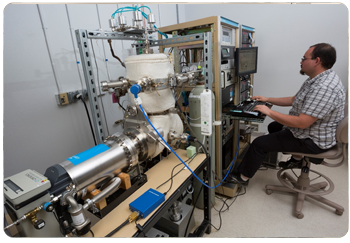
The PSL’s Vacuum Lab is responsible for providing the highest-accuracy calibrations for the National Nuclear Security Administration laboratories in the thermodynamic field of vacuum measurement. The Vacuum Lab has several measurement systems that enable vacuum measurements of ion gauges, spinning rotor gauges, capacitance manometers and all types thermal conductivity gauges. The equipment includes two Force Balance Piston Gauges, Comparison High Vacuum Measurement System, Primary High Vacuum Measurement System, and a Capacitance Diaphragm Vacuum Station.